
Cloud Migration Tool
Migrating data from bare metal servers to the cloud with minimal downtime
This documentation describes the preview version of the Cloud Migration tool and is subject to change.
The arangosync-migration tool allows you to easily move from on-premises to
the cloud while ensuring a smooth transition with minimal downtime.
Start the cloud migration, let the tool do the job and, at the same time,
keep your local cluster up and running.
Some of the key benefits of the cloud migration tool include:
- Safety comes first - pre-checks and potential failures are carefully handled.
- Your data is secure and fully encrypted.
- Ease-of-use with a live migration while your local cluster is still in use.
- Get access to what a cloud-based fully managed service has to offer: high availability and reliability, elastic scalability, and much more.
Downloading the tool
The arangosync-migration tool is available to download for the following
operating systems:
Linux
macOS / Darwin
Windows
For macOS as well as other Unix-based operating systems, run the following command to make sure you can execute the binary:
chmod 755 ./arangosync-migration
Prerequisites
Before getting started, make sure the following prerequisites are in place:
-
Go to the ArangoGraph Insights Platform and sign in. If you don’t have an account yet, sign-up to create one.
-
Generate an ArangoGraph API key and API secret. See a detailed guide on how to create an API key.
-
Your on-premises deployment should be able to communicate with the ArangoGraph platform. Check if the host is available and your firewall is not blocking port
8629.
The cloud migration tool is only available for clusters.
Setting up the target deployment in ArangoGraph
Continue by creating a new ArangoGraph deployment or choose an existing one.
The target deployment in ArangoGraph requires specific configuration rules to be set up before the migration can start:
- Configuration settings: The target deployment must be compatible with the source data cluster. This includes the ArangoDB version that is being used, the DB-Servers count, and disk space.
- Deployment region and cloud provider: Choose the closest region to your data cluster. This factor can speed up your migration to the cloud.
After setting up your ArangoGraph deployment, wait for a few minutes for it to become fully operational.
Note that Developer mode deployments are not supported.
Running the migration tool
The arangosync-migration tool provides a set of commands that allow you to:
- start the migration process
- check whether your source and target clusters are fully compatible
- get the current status of the migration process
- stop or abort the migration process
- switch the local cluster to read-only mode
Starting the migration process
To start the migration process, run the following command:
arangosync-migration start
The start command runs some pre-checks. Among other things, it measures
the disk space which is occupied by your ArangoDB cluster. If you are using the
same data volume for ArangoDB servers and other data as well, the measurements
can be incorrect. Provide the --source.ignore-metrics option to overcome this.
You also have the option of doing a --check-only without starting the actual
migration. If specified, this checks if your local cluster and target deployment
are compatible without sending any data to ArangoGraph.
Once the migration starts, the local cluster enters into monitoring mode and the synchronization status is displayed in real-time. If you don’t want to see the status you can also terminate this process, as the underlying agent process continues to work. If something goes wrong, restarting the same command restores the replication state.
To restart the migration, first stop or stop --abort the migration. Then,
start it again using the start command.
Note that restarting works only if you are not using
auto-generated certificates.
Starting the migration creates a full copy of all data from the source cluster to the target deployment in ArangoGraph. All data that has previously existed in the target deployment will be lost.
During the migration
The following takes place during an active migration:
- The source data cluster remains usable.
- The target deployment in ArangoGraph is switched to read-only mode.
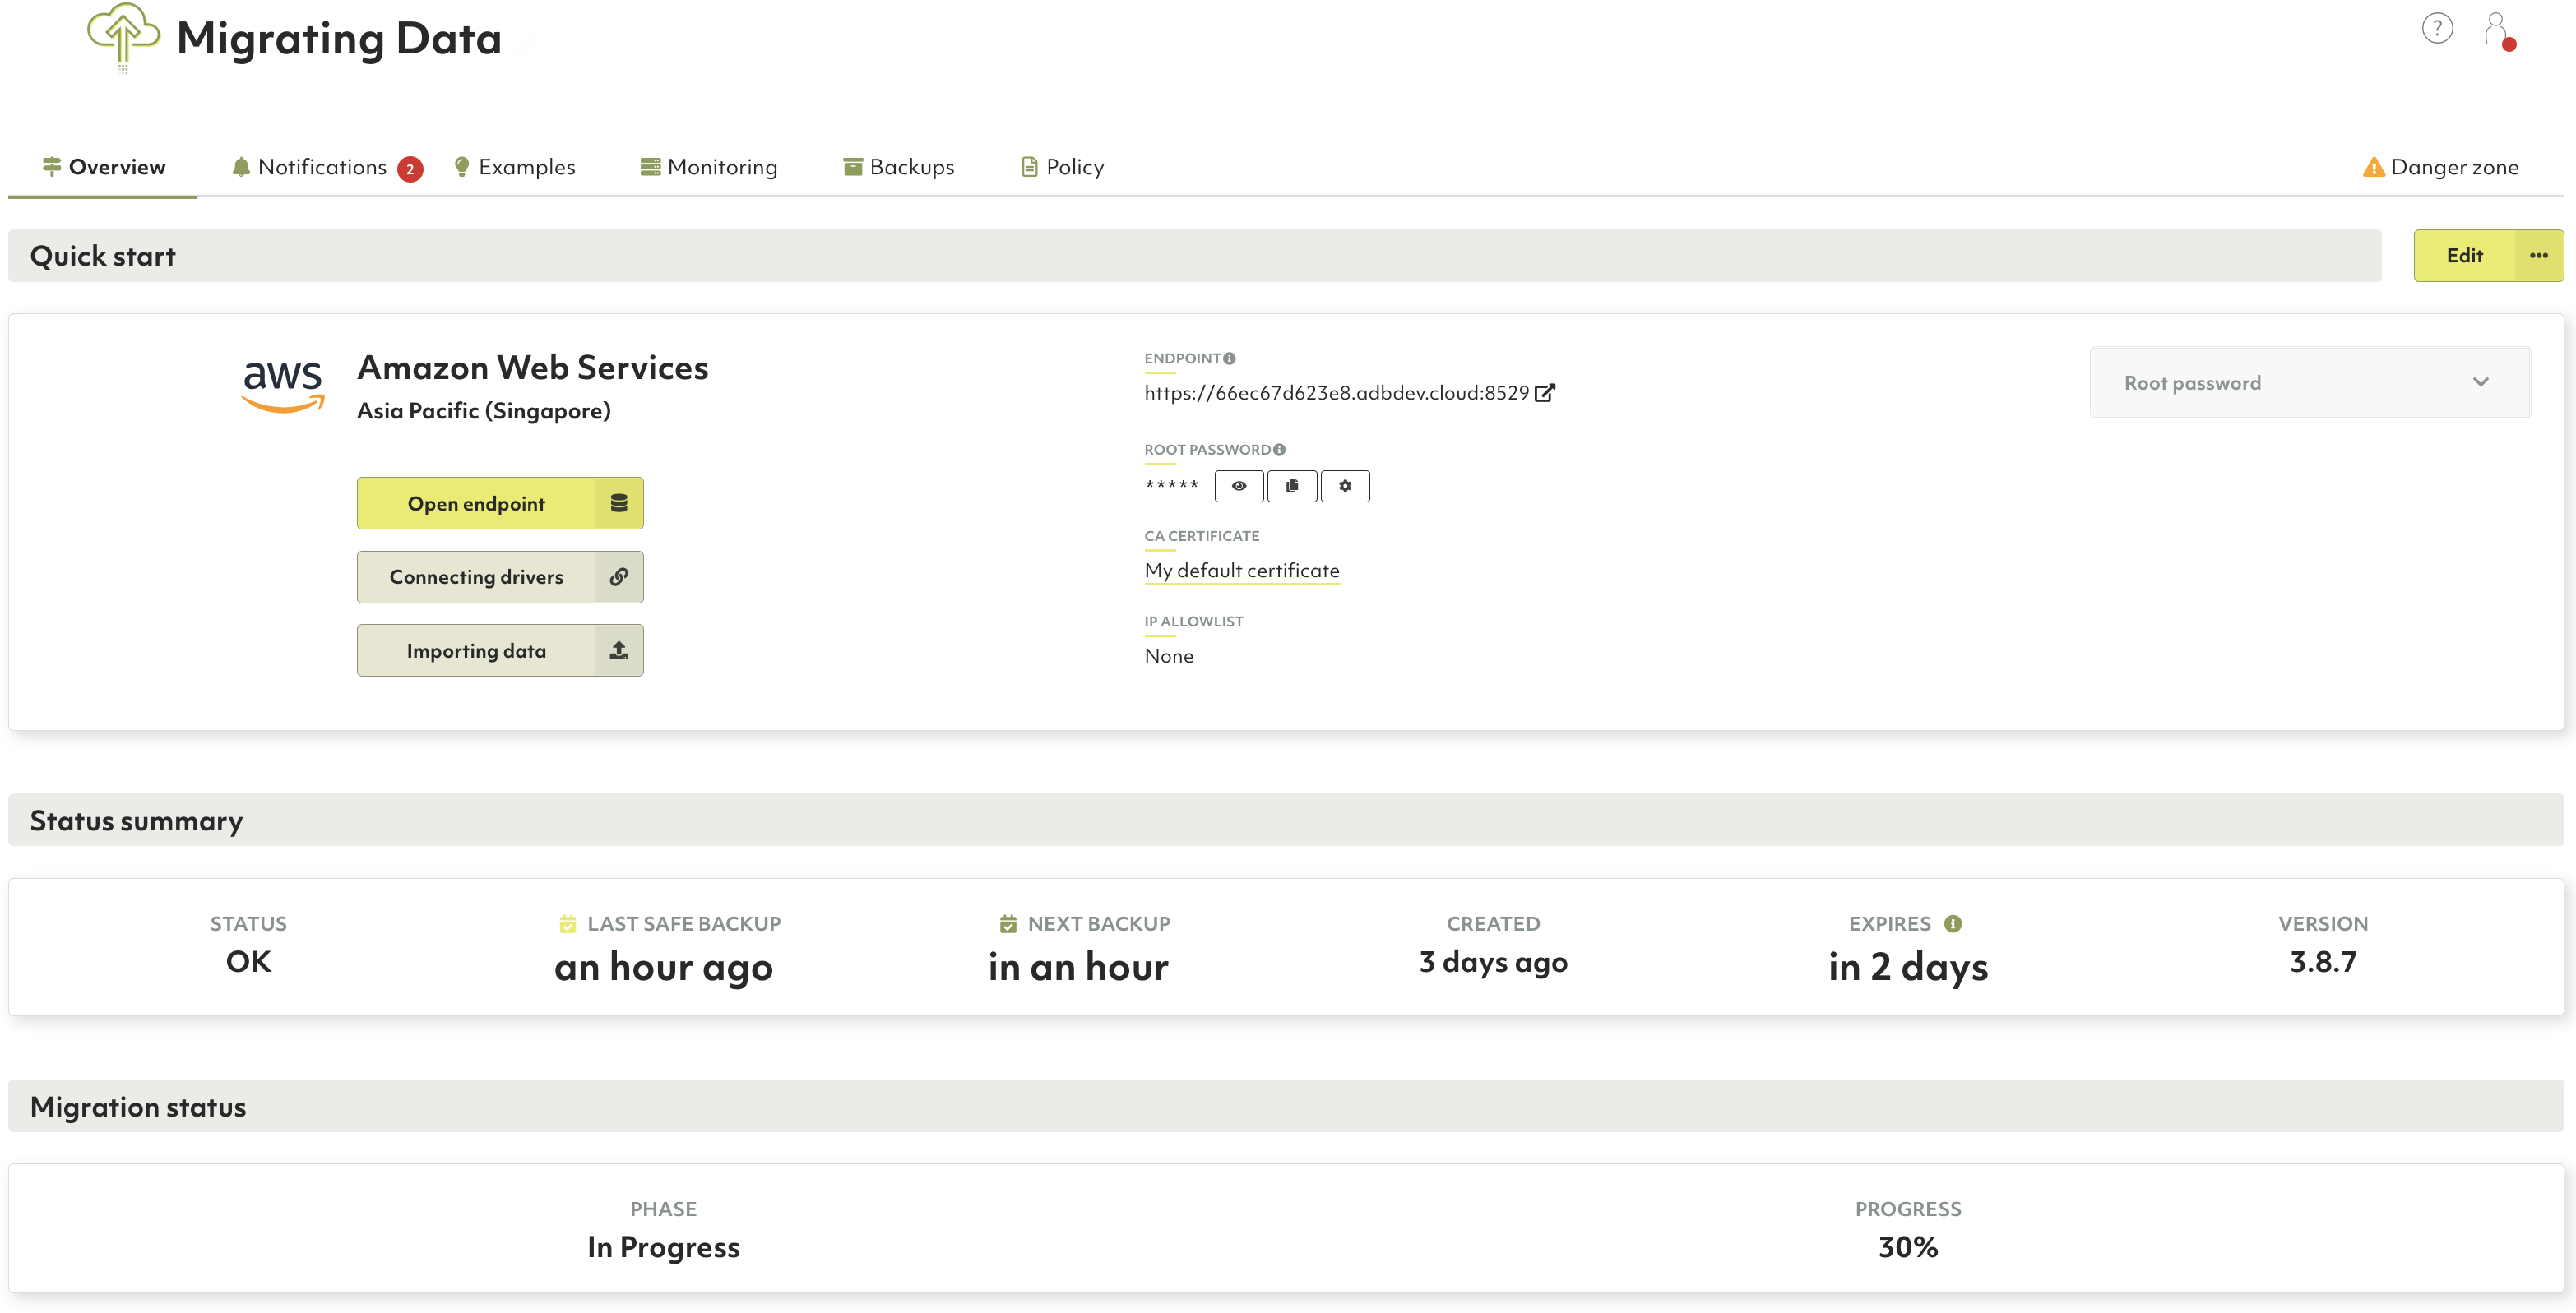
- Your root user password is not copied to the target deployment in ArangoGraph. To get your root password, select the target deployment from the ArangoGraph Dashboard and go to the Overview tab. All other users are fully synchronized.
The migration tool increases the CPU and memory usage of the server you are running it on. Depending on your ArangoDB usage pattern, it may take a lot of CPU to handle the replication. You can stop the migration process anytime if you see any problems.
During active migration, the agent HTTPS server is executed on the $MG_HOST:8629
endpoint. Make sure the host and port are available for the ArangoGraph Insights Platform.
To change the default port, use the --agent.master-port option.
export MG_HOST=<your IP or publicly-available hostname here>
./arangosync-migration start \
  --source.cacert=tls-ca.crt \
  --source.keyfile=client-auth.keyfile \
  --source.endpoint=$COORDINATOR_ENDPOINT \
  --source.jwtSecret=clusterSecret \
  --oasis.api-key=$OASIS_API_KEY \
  --oasis.api-secret=$OASIS_API_SECRET \
  --oasis.deployment-id=$OASIS_DEPLOYMENT_ID \
  --agent.listen-host=$MG_HOST
TLS server certificates
The migration agent HTTPS server uses TLS certificate pairs to ensure a secure
connection between your local cluster and the ArangoGraph Insights Platform.
If you do not provide them, the migration tool creates self-signed certificates.
If you wish to provide TLS certificates, use the arangodb tool to convert them in
a suitable format for the migration tool.
See a detailed guide on how to create a new certificate/keyfile pair.
Make sure to specify your publicly available host name, $MG_HOST, when creating
the keyfile.
When starting the migration, specify the generated files in the command line:
--agent.cacert=tls.crt --agent.keyfile=tls.keyfile --agent.client-auth-cacert=client-auth-ca.crt --agent.client-auth-keyfile=client-auth.keyfile
How long does it take?
The total time required to complete the migration depends on how much data you have and how often write operations are executed during the process.
You can also track the progress by checking the Migration status section of your target deployment in ArangoGraph dashboard.
Getting the current status
To print the current status of the migration, run the following command:
./arangosync-migration status --watch \
  --oasis.api-key=$OASIS_API_KEY \
  --oasis.api-secret=$OASIS_API_SECRET \
  --oasis.deployment-id=$OASIS_DEPLOYMENT_ID
You can also add the --watch option to start monitoring the status in real-time.
Stopping the migration process
The arangosync-migration stop command stops the migration and terminates
the migration agent process.
If replication is running normally, the command waits until all shards are in sync. The local cluster is then switched into read-only mode. After all shards are in-sync and the migration stopped, the target deployment is switched into normal mode (read/write).
./arangosync-migration stop \
  --oasis.api-key=$OASIS_API_KEY \
  --oasis.api-secret=$OASIS_API_SECRET \
  --oasis.deployment-id=$OASIS_DEPLOYMENT_ID
The additional --abort option is supported. If specified, the stop command
will not check anymore if both deployments are in-sync and stops all
migration-related processes as soon as possible.
Switching the local cluster to read-only mode
The arangosync-migration set-server-mode command allows switching
read-only mode
for your local cluster on and off.
In a read-only mode, all write operations are going to fail with an error code
of 1004 (ERROR_READ_ONLY).
Creating or dropping databases and collections are also going to fail with
error code 11 (ERROR_FORBIDDEN).
./arangosync-migration set-server-mode \
  --source.cacert=tls-ca.crt \
  --source.keyfile=client-auth.keyfile \
  --source.endpoint=$COORDINATOR_ENDPOINT \
  --source.jwtSecret=clusterSecret \
  --source.server-mode=readonly
The --source.server-mode option allows you to specify the desired server mode.
Allowed values are readonly or default.
Supported environment variables
The arangosync-migration tool supports the following environment variables:
$OASIS_API_KEY$OASIS_API_SECRET$OASIS_DEPLOYMENT_ID
Using these environment variables is highly recommended to ensure a secure way of providing sensitive data to the application.
Restrictions and limitations
When running the migration, ensure that your target deployment has the same (or bigger) amount of resources (CPU, RAM) than your cluster. Otherwise, the migration process might get stuck or require manual intervention. This is closely connected to the type of data you have and how it is distributed between shards and collections.
In general, the most important parameters are:
- Total number of leader shards
- The amount of data in bytes per collection
Both parameters can be retrieved from the ArangoDB Web Interface.
The arangosync-migration tool supports migrating large datasets of up to
5 TB of data and 3800 leader shards, as well as collections as big as 250 GB.
In case you have any questions, please reach out to us.
Cloud migration workflow for minimal downtime
- Download and start the
arangosync-migrationtool. The target deployment is switched into read-only mode automatically. - Wait until all shards are in sync. You can use the
statusor thestartcommand with the same parameters to track that. - Optionally, when all shards are in-sync, you can switch your applications to use the endpoint of the ArangoGraph deployment, but note that it stays in read-only mode until the migration process is fully completed.
- Stop the migration using the
stopsubcommand. The following steps are executed:- The source data cluster is switched into read-only mode.
- It waits until all shards are synchronized.
- The target deployment is switched into default read/write mode.
If you switched the source data cluster into read-only mode, you can switch it back to default (read/write) mode using the
set-server-modesubcommand.